Hey There, Slow internet is the toughest part in the life anyone could ever imagine. Video Buffering and Slow Online Gaming are yet other issues we usually come across. In this article, we will see how to increase your internet speed easily on your PC.
There you can enter one of these addresses given below (table) and save the changes.
Overall, We think this trick helped you in changing the DNS server settings and ultimately in increasing the WiFi speed on your PC.
So, If you are an internet addict and want to enhance the internet speed on your PC, here is the working hack or trick that lets you do it. If we are done wasting time.
Let's just keep all the things aside and Let the tech begin!
Do you know that you can change your DNS provider on windows 10? If not, then here are the steps to follow to change your DNS provider that in turn increases the speed of WiFi on your PC and enhances the browsing experience.
DNS Server
A DNS server is a type of name server that manages, maintains, and processes Internet domain names and their associated records. In other words, a DNS server is a primary component that implements the DNS (Domain Name System) protocol and provisions domain name resolution services to Web hosts and clients on an IP-based network.
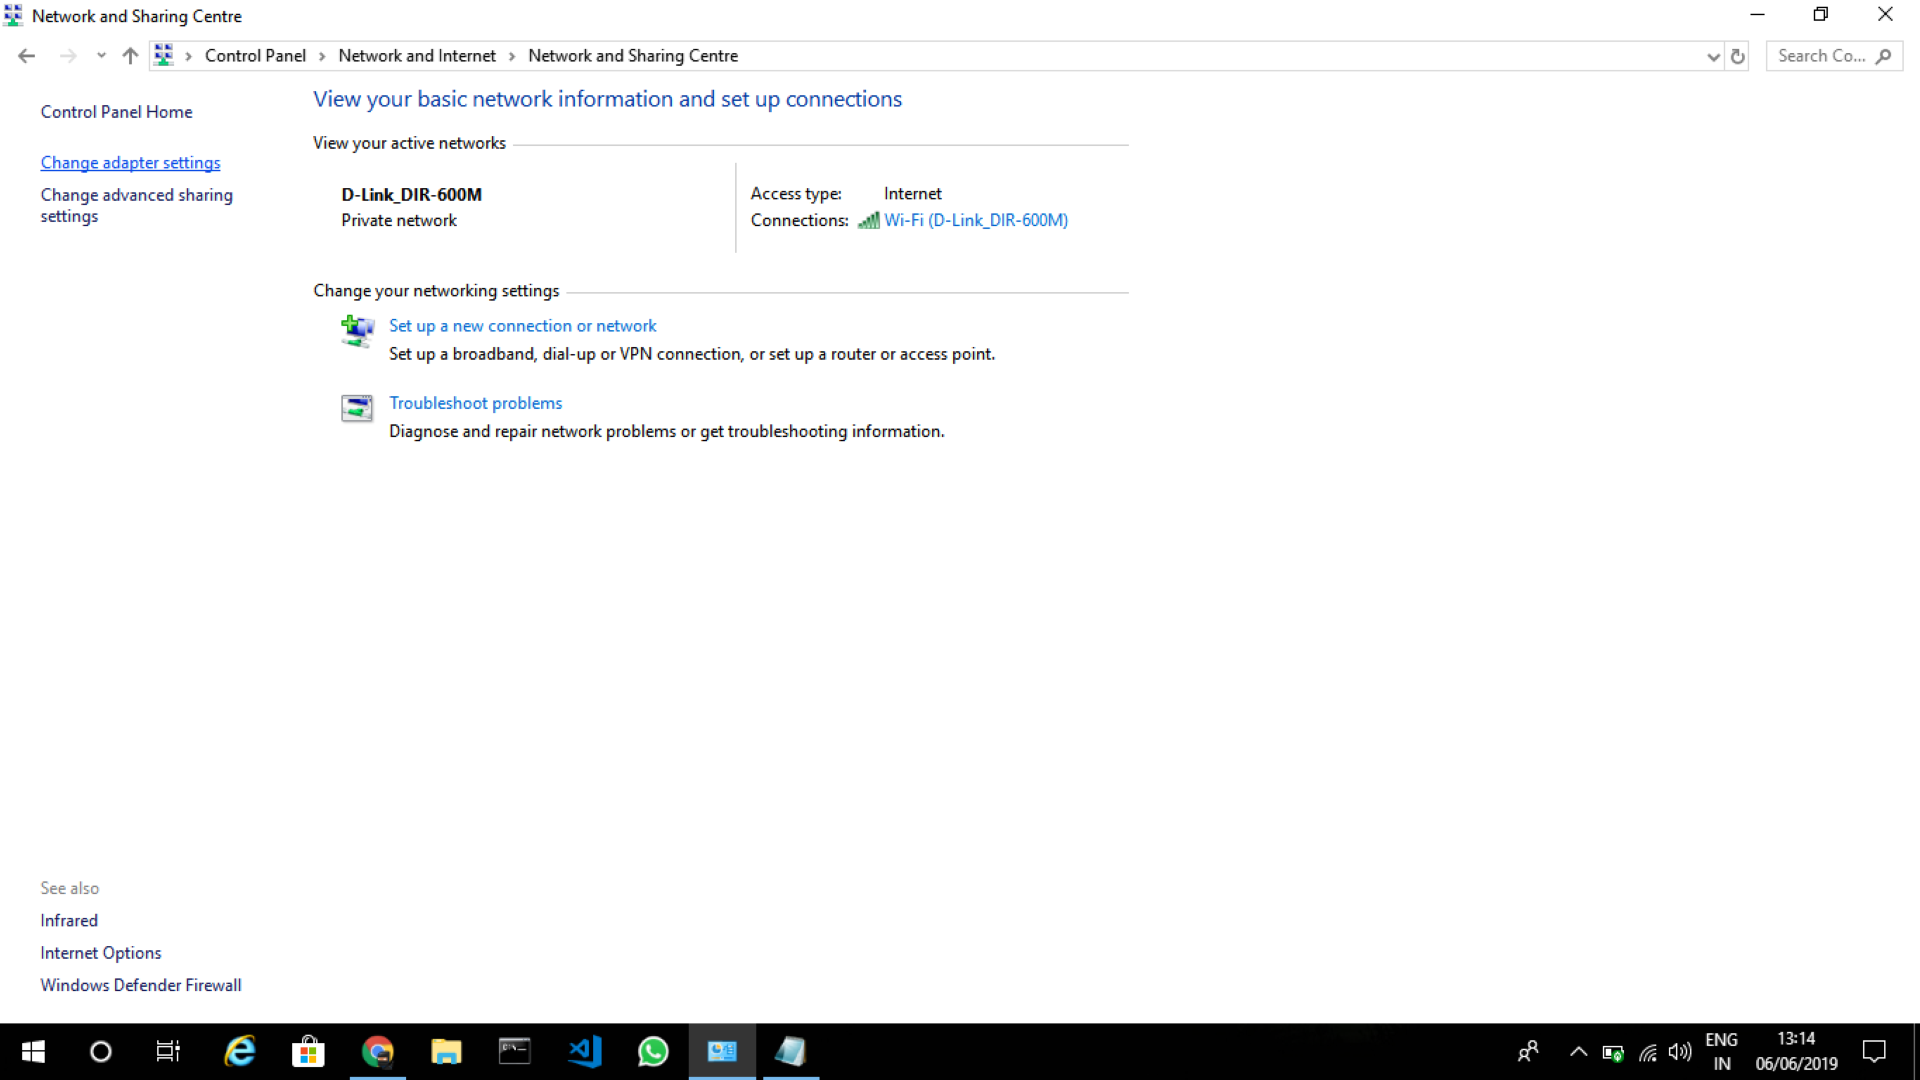
Now that we all know what DNS servers are, Let us change the DNS server settings on our PC. Here are the steps to change the DNS server settings on our PC and increase the internet speed.
One of the best uses of modifying your DNS server is, it increases your WiFi speed when you use the Google, Quad9, etc DNS servers.
Now that we all know what DNS servers are, Let us change the DNS server settings on our PC. Here are the steps to change the DNS server settings on our PC and increase the internet speed.
Step 4
After that click on 'PROPERTIES' and then check for 'INTERNET PROTOCOL VERSION 4 (TCP/IPV4)' make sure you check it and then click on 'PROPERTIES' by selecting it.
Step 5
After that, a new window will be opened in that you will be able to see 'USE THE FOLLOWING DNS SERVER ADDRESSES'.
| Best Free & Public DNS Servers | ||
|---|---|---|
| Provider | Primary DNS | Secondary DNS |
| 8.8.8.8 | 8.8.4.4 | |
| Quad9 | 9.9.9.9 | 149.112.112.112 |
| OpenDNS Home | 208.67.222.222 | 208.67.220.220 |
| Cloudflare | 1.1.1.1 | 1.0.0.1 |
| CleanBrowsing | 185.228.168.9 | 185.228.169.9 |
| Verisign | 64.6.64.6 | 64.6.65.6 |
| Alternate DNS | 198.101.242.72 | 23.253.163.53 |
| AdGuard DNS | 176.103.130.130 | 176.103.130.131 |
Conclusion
If you know any other best tricks or hacks to enhance the WiFI speed, tell us about them in the comments below!
So, That was all about increasing the internet speed on your PC with some simple steps. Keep supporting Techniverse Spotted for more cool and interesting stuff.


Post a Comment