Hey There, Payment Gateway is basically a tool or platform to deal with all the online financial transactions. So if you want to integrate a payment gateway to your website and receive payments online, this article is for you.
Now in order to integrate Razorpay into Blogger, we are going to take the help of this button. Just click on the 'Get payment button' option.
If you want to learn how to integrate the Razorpay payment gateway in Blogger just by using simple HTML, Stay tuned! In this article, we will see how to integrate the Razorpay payment gateway in Blogger.
So, Here is the complete process to integrate Razorpay in Blogger. If we are done wasting time.
So, Here is the complete process to integrate Razorpay in Blogger. If we are done wasting time.
Let's just keep all the things aside and Let the tech begin!
Integrate Razorpay in Blogger
First things first, you should have a Razorpay account created to start the process. First of all, open up the following link in your favorite web browser.
You can visit the signup page of Razorpay from here.
Once you open up the link you will see the signup page to create an account. Do signup if you don’t have an account. Once you have your account simply enter the details and log in to your account.
Here you need to upload a few documents. Once your KYC is verified your account will get activated.
Now just move to the payment pages tab and click on the 'Create payment page' option on the right.
Here we are being provided with a couple of templates for various situations. However, In this example, I am going to select the 'Create your own' Template.
On this page, you can give the Page title, Enter the description, and you can basically edit this page completely as for your wish, you can customize the page with the available options. Once you are satisfied with the edit click on the 'Save and publish page' button.
Once you do that you will be given a URL of your created payment page and you can even customize the URL as well.
Now in order to integrate Razorpay into Blogger, we are going to take the help of this button. Just click on the 'Get payment button' option.
Here we can edit the text to be shown on our payment button and you can even select your desired button size as needed. Once everything is set up you just have to copy the HTML code and click 'Done'.
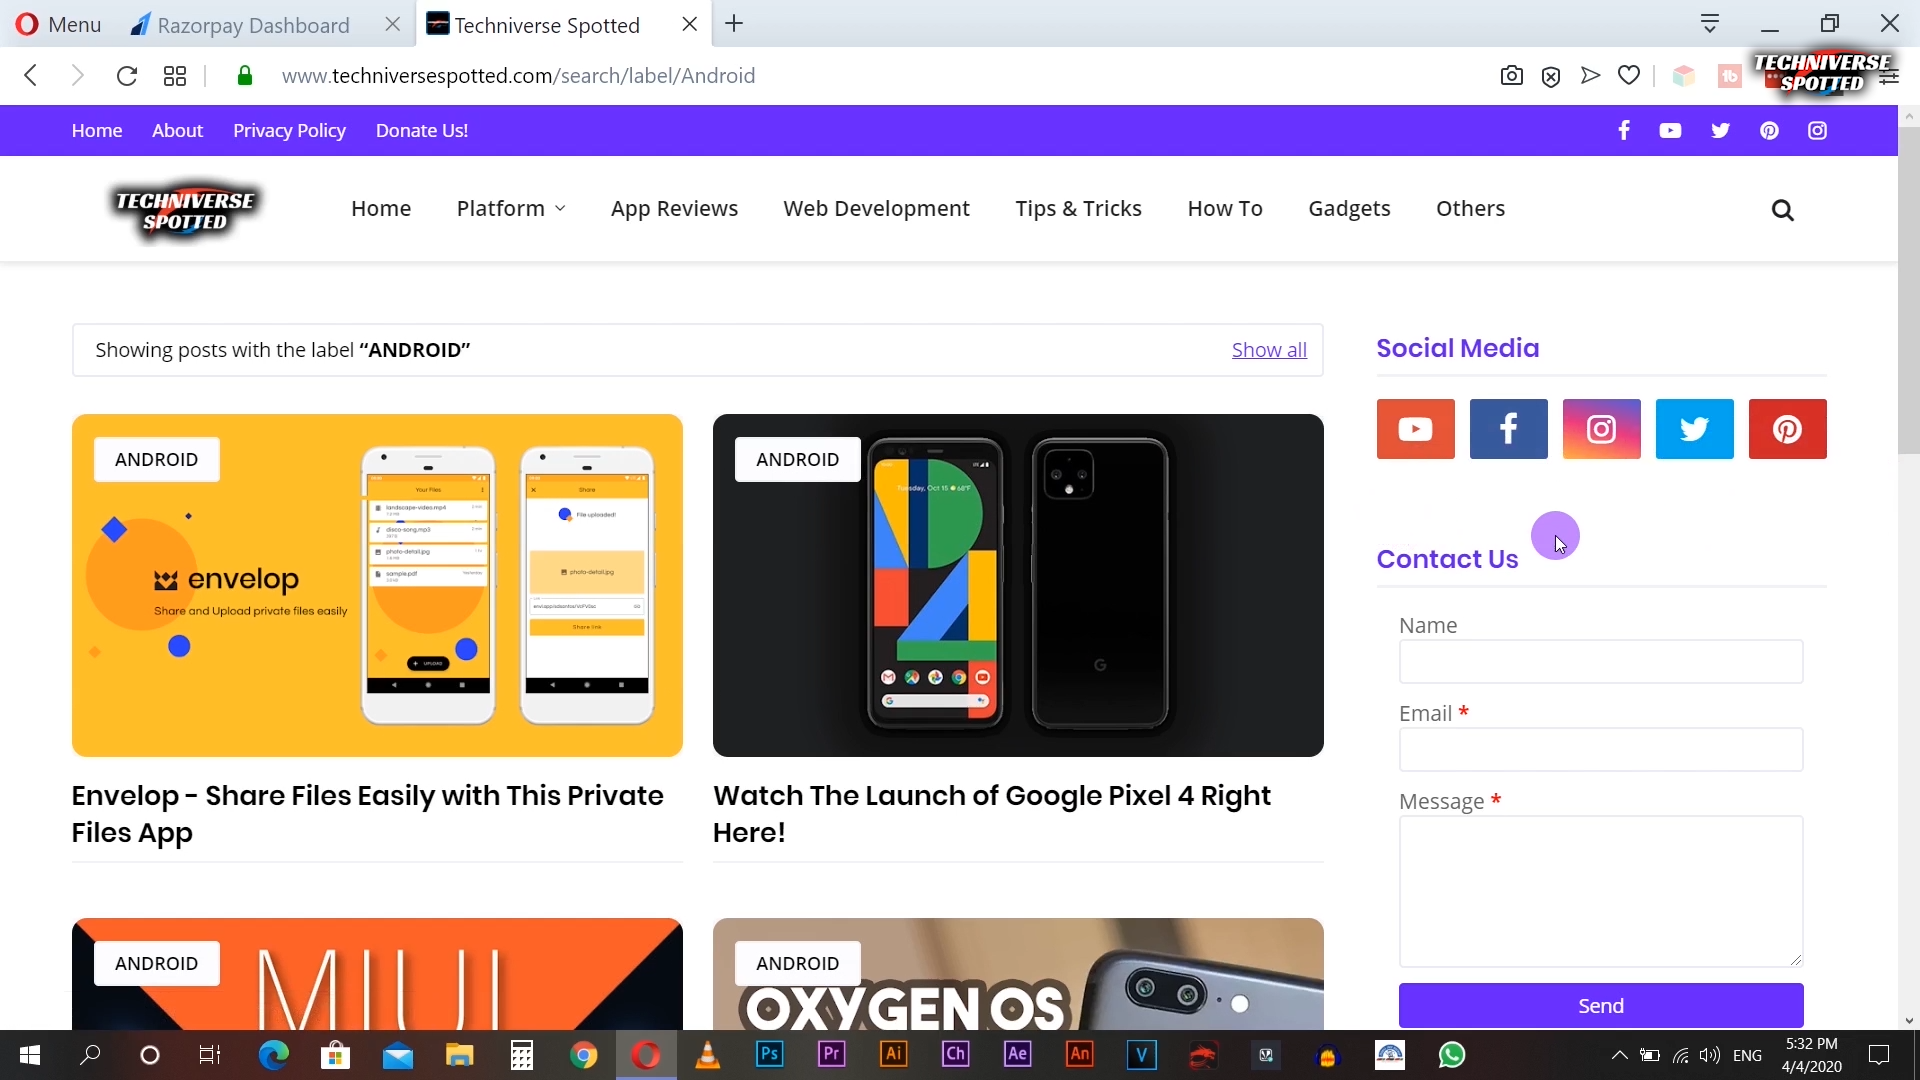
Now let me just give you an overview of my site. Here I want to add my payment button in between the 'Social media handles' and the 'Contact us' box.
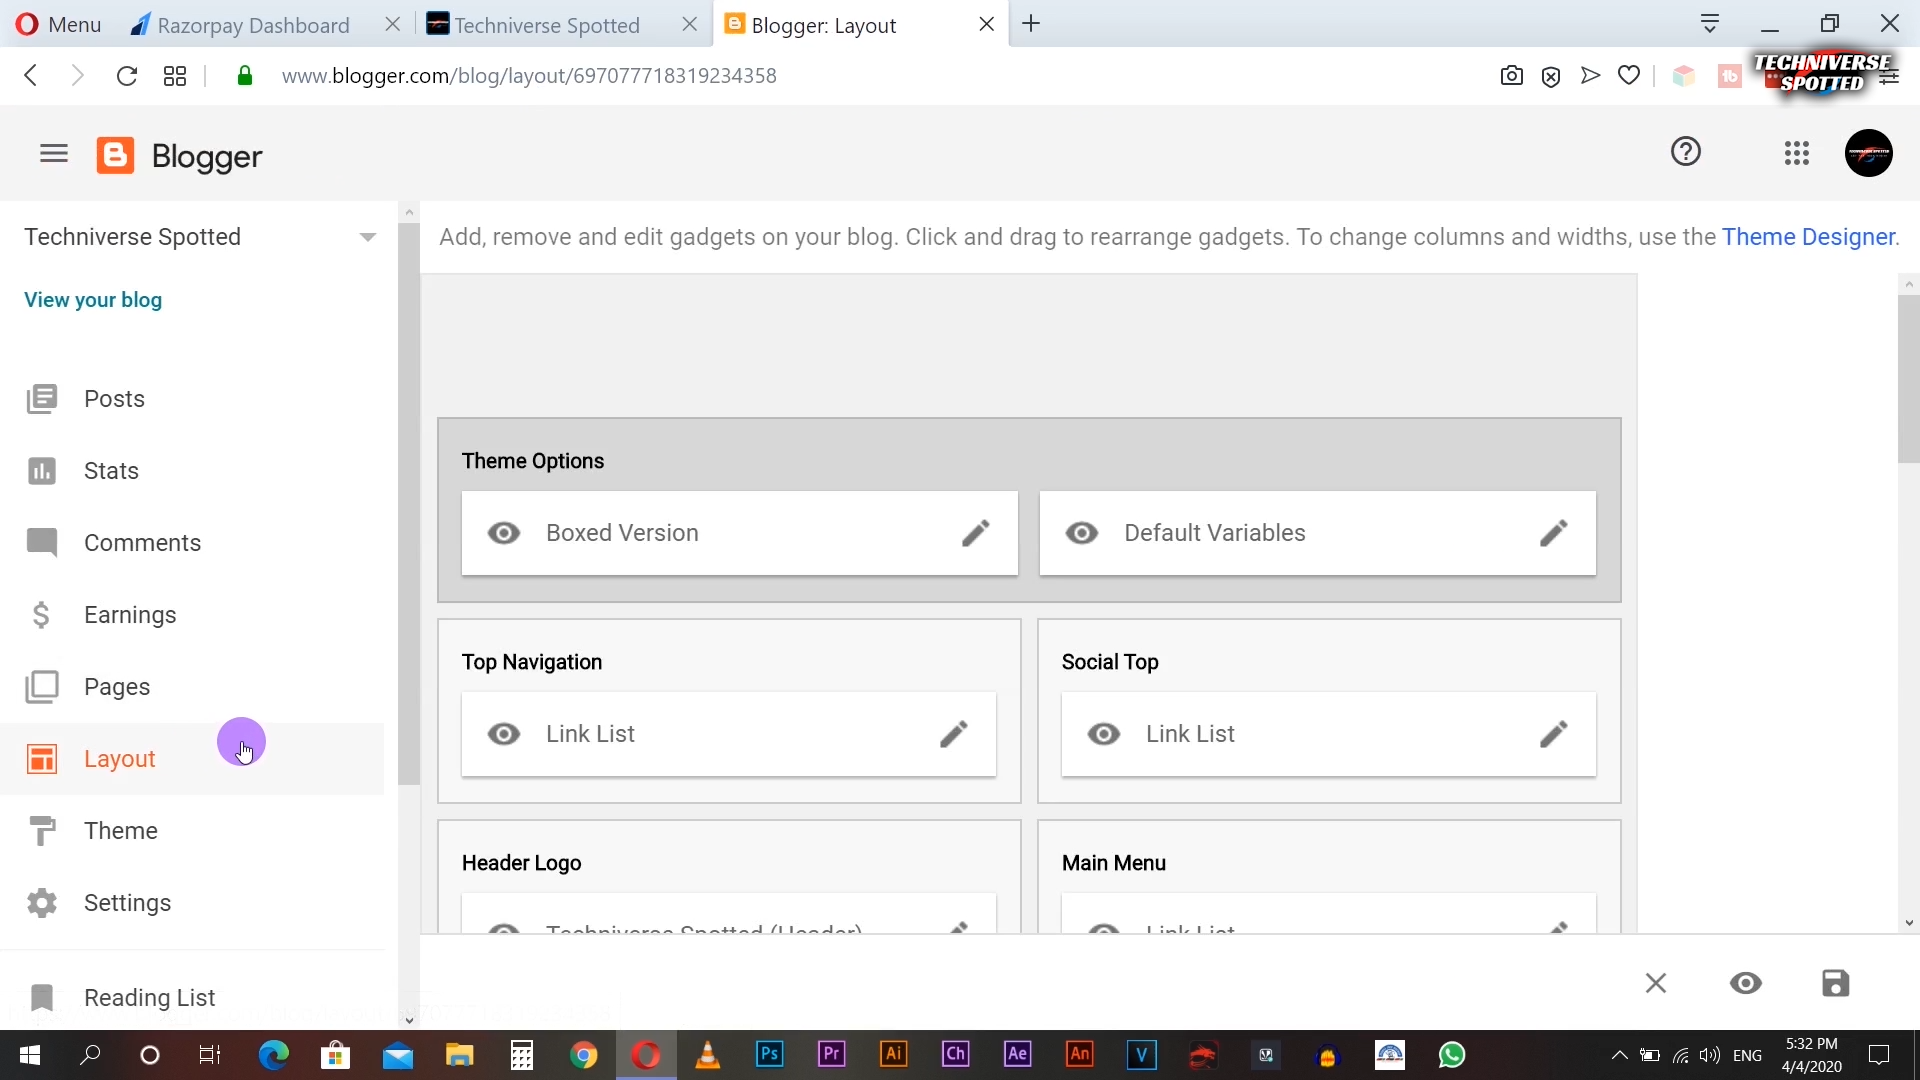
Now, log in to your blogger account and get into your dashboard. Now click on the 'Layout' tab. Once you are inside the layout tab, you can see all the elements on your website listed in this tab.
Just give a quick overview in this tab to find the place where you want to add the button. Here as I want to add the button between the 'Social media handles' and the 'Contact us' box the right position for me to insert the button is here (refer to the image below). So after figuring out where to add the button click on add a gadget option.
Then you will get another browser window popped up, now scroll down to find the 'HTML/Javascript' Widget in the listed gadgets and click on the little add button.
Now paste the HTML code you have copied earlier from the Razorpay website into the content box. The Title here is not necessary, I’m just leaving this field empty and guys just make sure here the visibility is turned on and click on the 'Save' button.
Now after refreshing the webpage you will have your Razorpay button successfully embedded in your web page.
Once you click on the button, you will be redirected to this official payment page of Razorpay which you have created earlier.
Now here the clients will simply enter the details and get all the payment methods available. Here I have some extra payment wallets as I have raised a request by sending an email for approval.
Yeah! And that’s how you can add your Razorpay button to your blogger site. Now if I want to add my Razorpay gateway as a menu item.
Then we gotta open up the Razorpay payment pages tab and copy the link to the payment page.
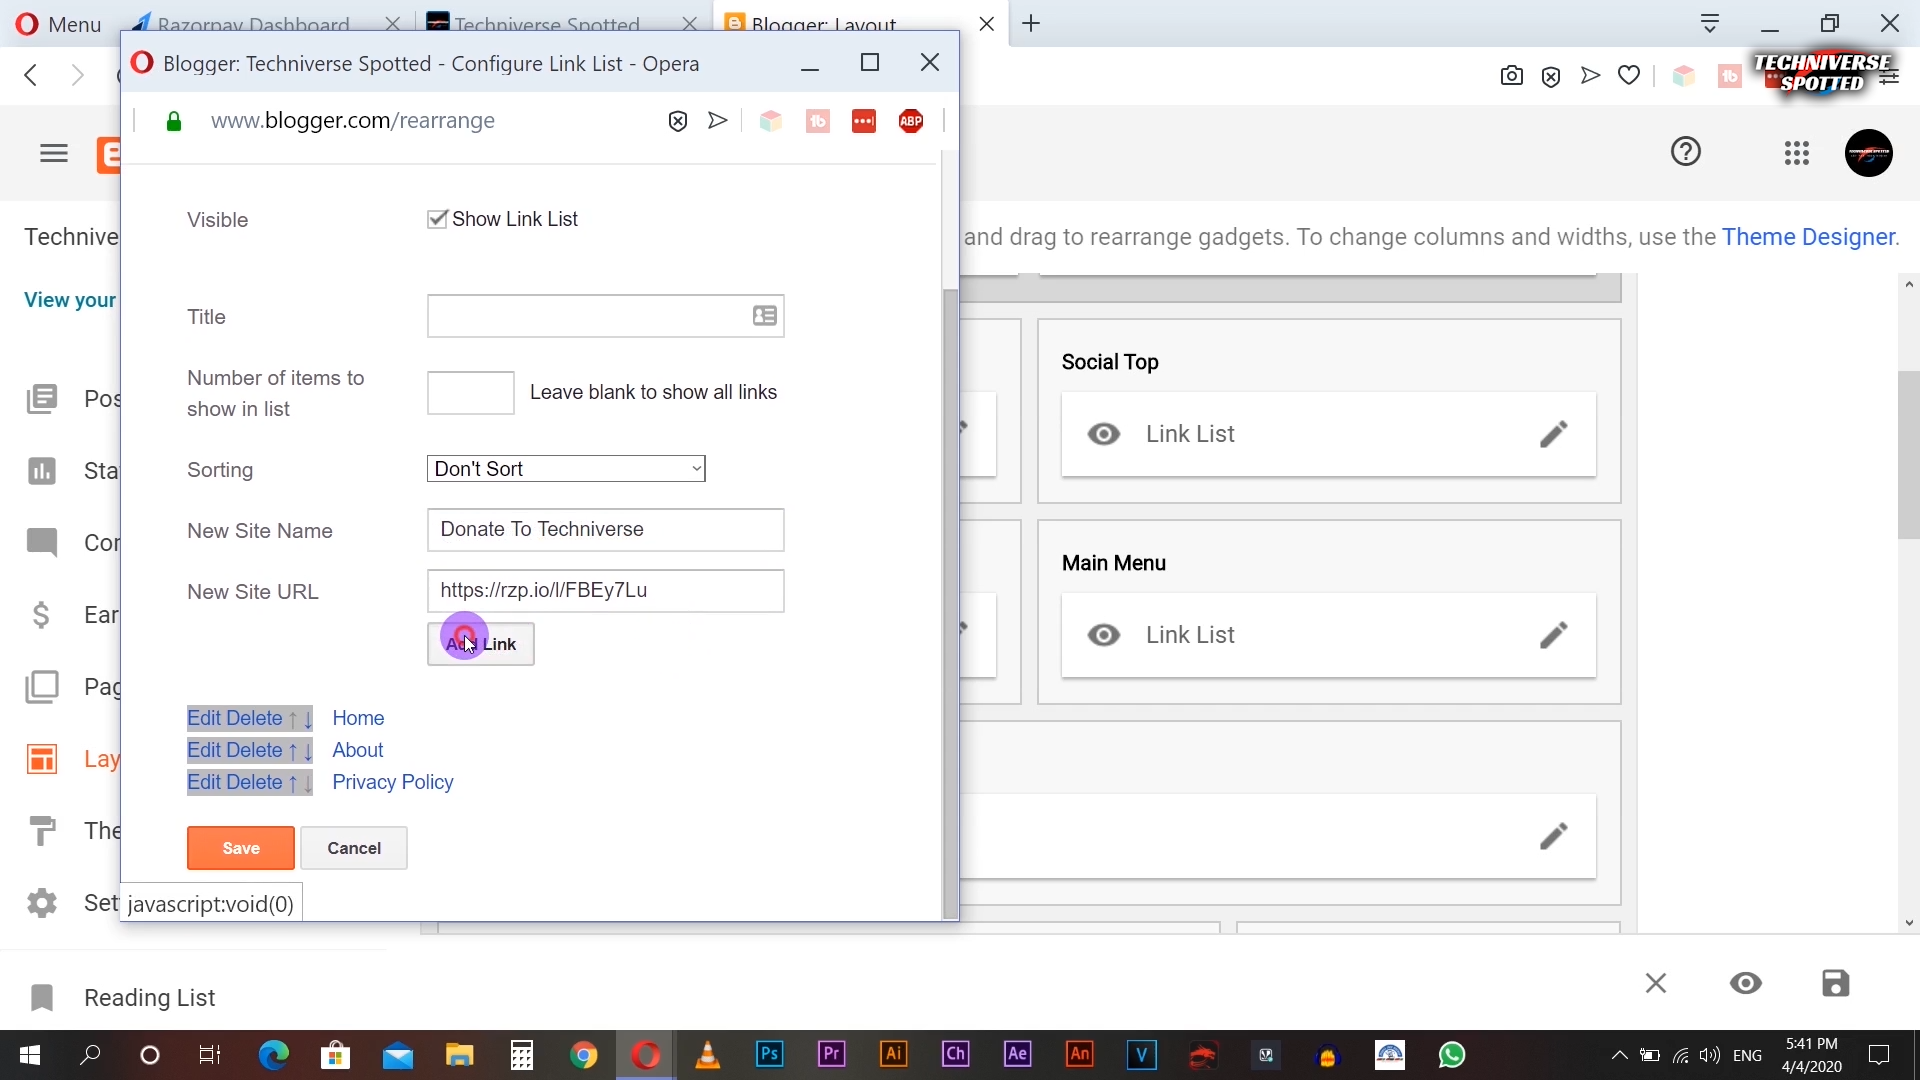
Now just look up the navigation menu items and here we have to paste the link in the URL column and label the URL and click on 'Add link'.
Now reposition the menu item and once done just save the changes.
After doing that just refresh your web page, here you can see the new menu item you have created earlier and this redirects us to the Razorpay payment page.
Here is the video explaining the method to integrate Razorpay in Blogger as mentioned above on our own YouTube channel. Do watch it to know more information about the process.
Conclusion
So yeah! There are only two ways available to link your Razorpay gateway with blogger, till date, One option is to add an embedded button and another one is to add the link of your payment page in any of the menu items.
If you know any other options to link the same, tell us about them in the comments below!
If you know any other options to link the same, tell us about them in the comments below!
So, That was all about how you can link your Razorpay payment page to your blogger site. Keep supporting Techniverse Spotted for more cool and interesting stuff.


Post a Comment